Finally! Time for a bathroom remodel. Can’t wait to get this started.
Here’s a sneak peek at my vision board for a modern scandi style makeover for my Florida bungalow bathroom
Read More
Modern Scandi Bathroom Remodel
Finally!! I’m so excited: bathroom remodel coming soon. Take a peek at my vision board… Read more
Finally! Time for a bathroom remodel. Can’t wait to get this started.
Here’s a sneak peek at my vision board for a modern scandi style makeover for my Florida bungalow bathroom
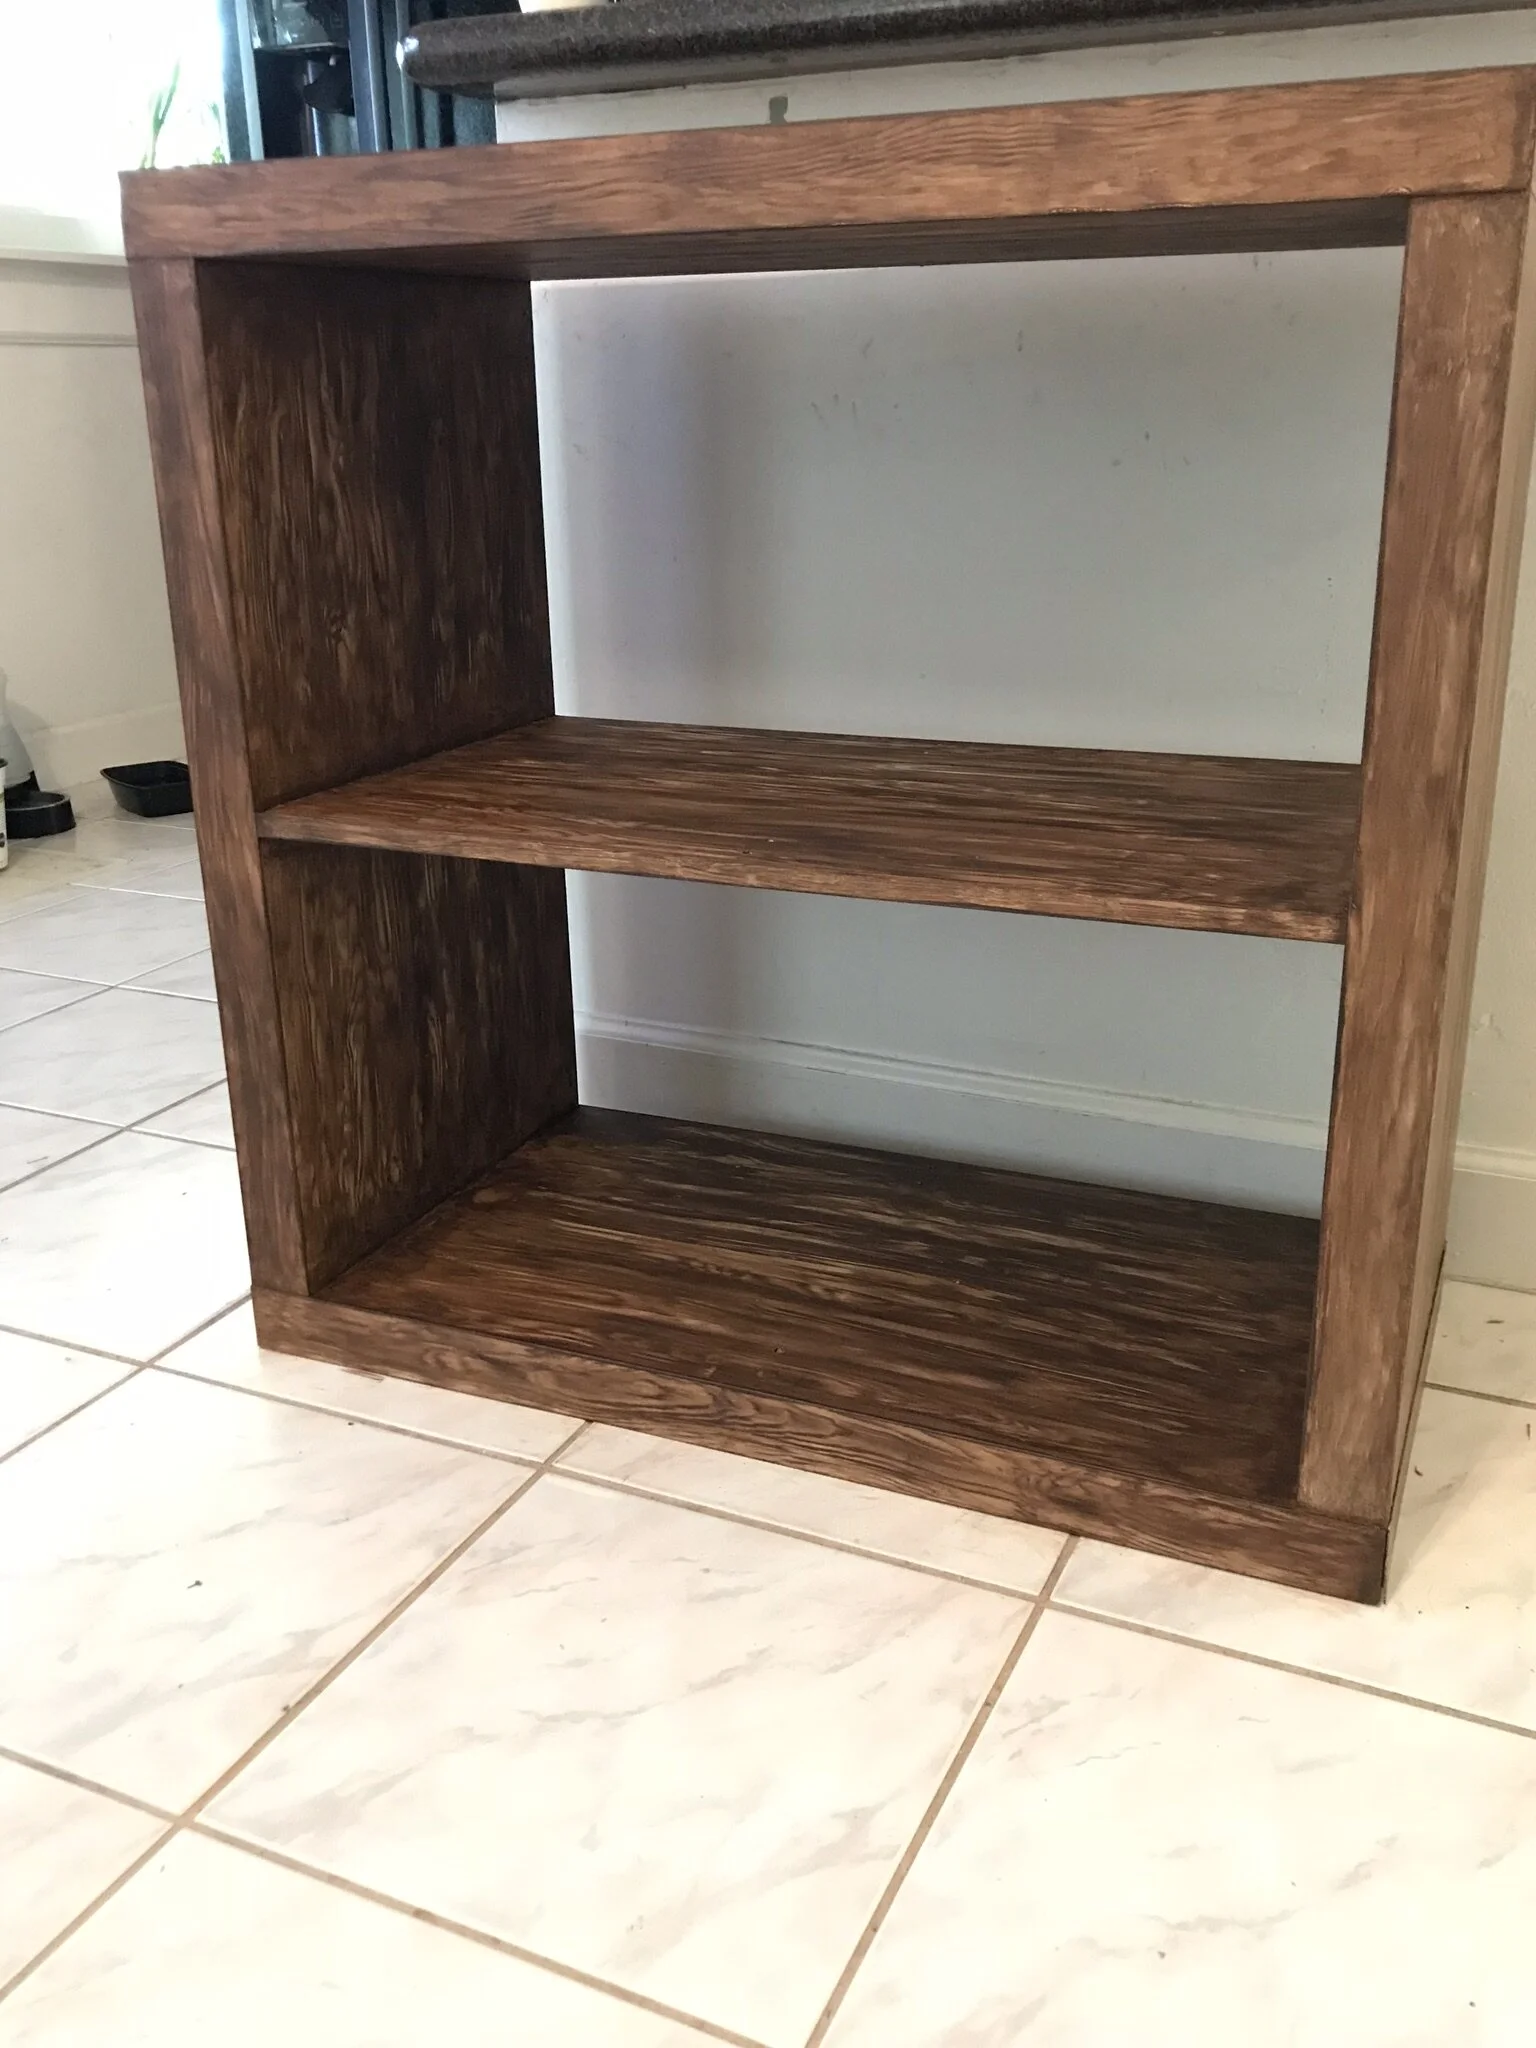
Read MoreI had some IKEA Kallax cube storage units from a decade ago in the black-brown finish - I finish I’m not fond of - so passe! But the budget was a little tight, so instead of looking for new furniture, I opted to up-cycle the old.
A solid color just wasn’t the look I was going for though - I really wanted a wood finish for this project. The solution? Chalk paint and antiquing wax!
You can achieve a lot of different looks, depending on your base color, wax color, how much wax you use, and how much you soften the grain finish. This is an easy project that you can pull off with minimal equipment and minimal cost. All you need is chalk paint for your base color, multi-surface wax, a wood graining tool, a few throw-away paintbrushes, and a roll of paper towels to soften. the finish.
Wax is readily available in clear or antique. I’ve occasionally found it in a slate color too, but you can get the clear wax and tint it if the antique wax isn’t going to give you the look you want. Clear wax as is won’t work for this technique.
I used Craftsmart Antique Wax over a base coat of Craftsmart Premium Chalky Acrylic Paint in Parchment.
One thing I would recommend that I failed to use - gloves! It’s messy work and I was definitely due for a good manicure after doing this without giving my poor hands some protection.
Materials List:
IKEA furniture. Although mine was a black-brown finish, chalk paint will work just as well over any IKEA finish.
Sand paper or sanding block
Tack cloth (to remove sanding dust)
Chalk paint for base color (I used an off-white)
Antique wax
Paint brush (to apply base color)
Wood-graining tool
Selection of brushes, clean rags and/or paper towels (to soften the finish)
Soap and water for cleanup
Gloves (the things I neglected to use with the result that I desperately needed a manicure when the project was done)
Technique:
1.Lightly sand the furniture (I hear chalk paint will work even if you don’t sand the finish first to remove the sheen, but I prefer not to take chances and risk unnecessary rework, so I sanded anyway for better paint adhesion.
2.Clean the sanded surfaces well to remove any dust or dirt
3.Paint your base color. This may take a few coats for good coverage. With chalk paint, don’t worry much about the direction you’re painting in, particularly for the first coat - just get the coverage.
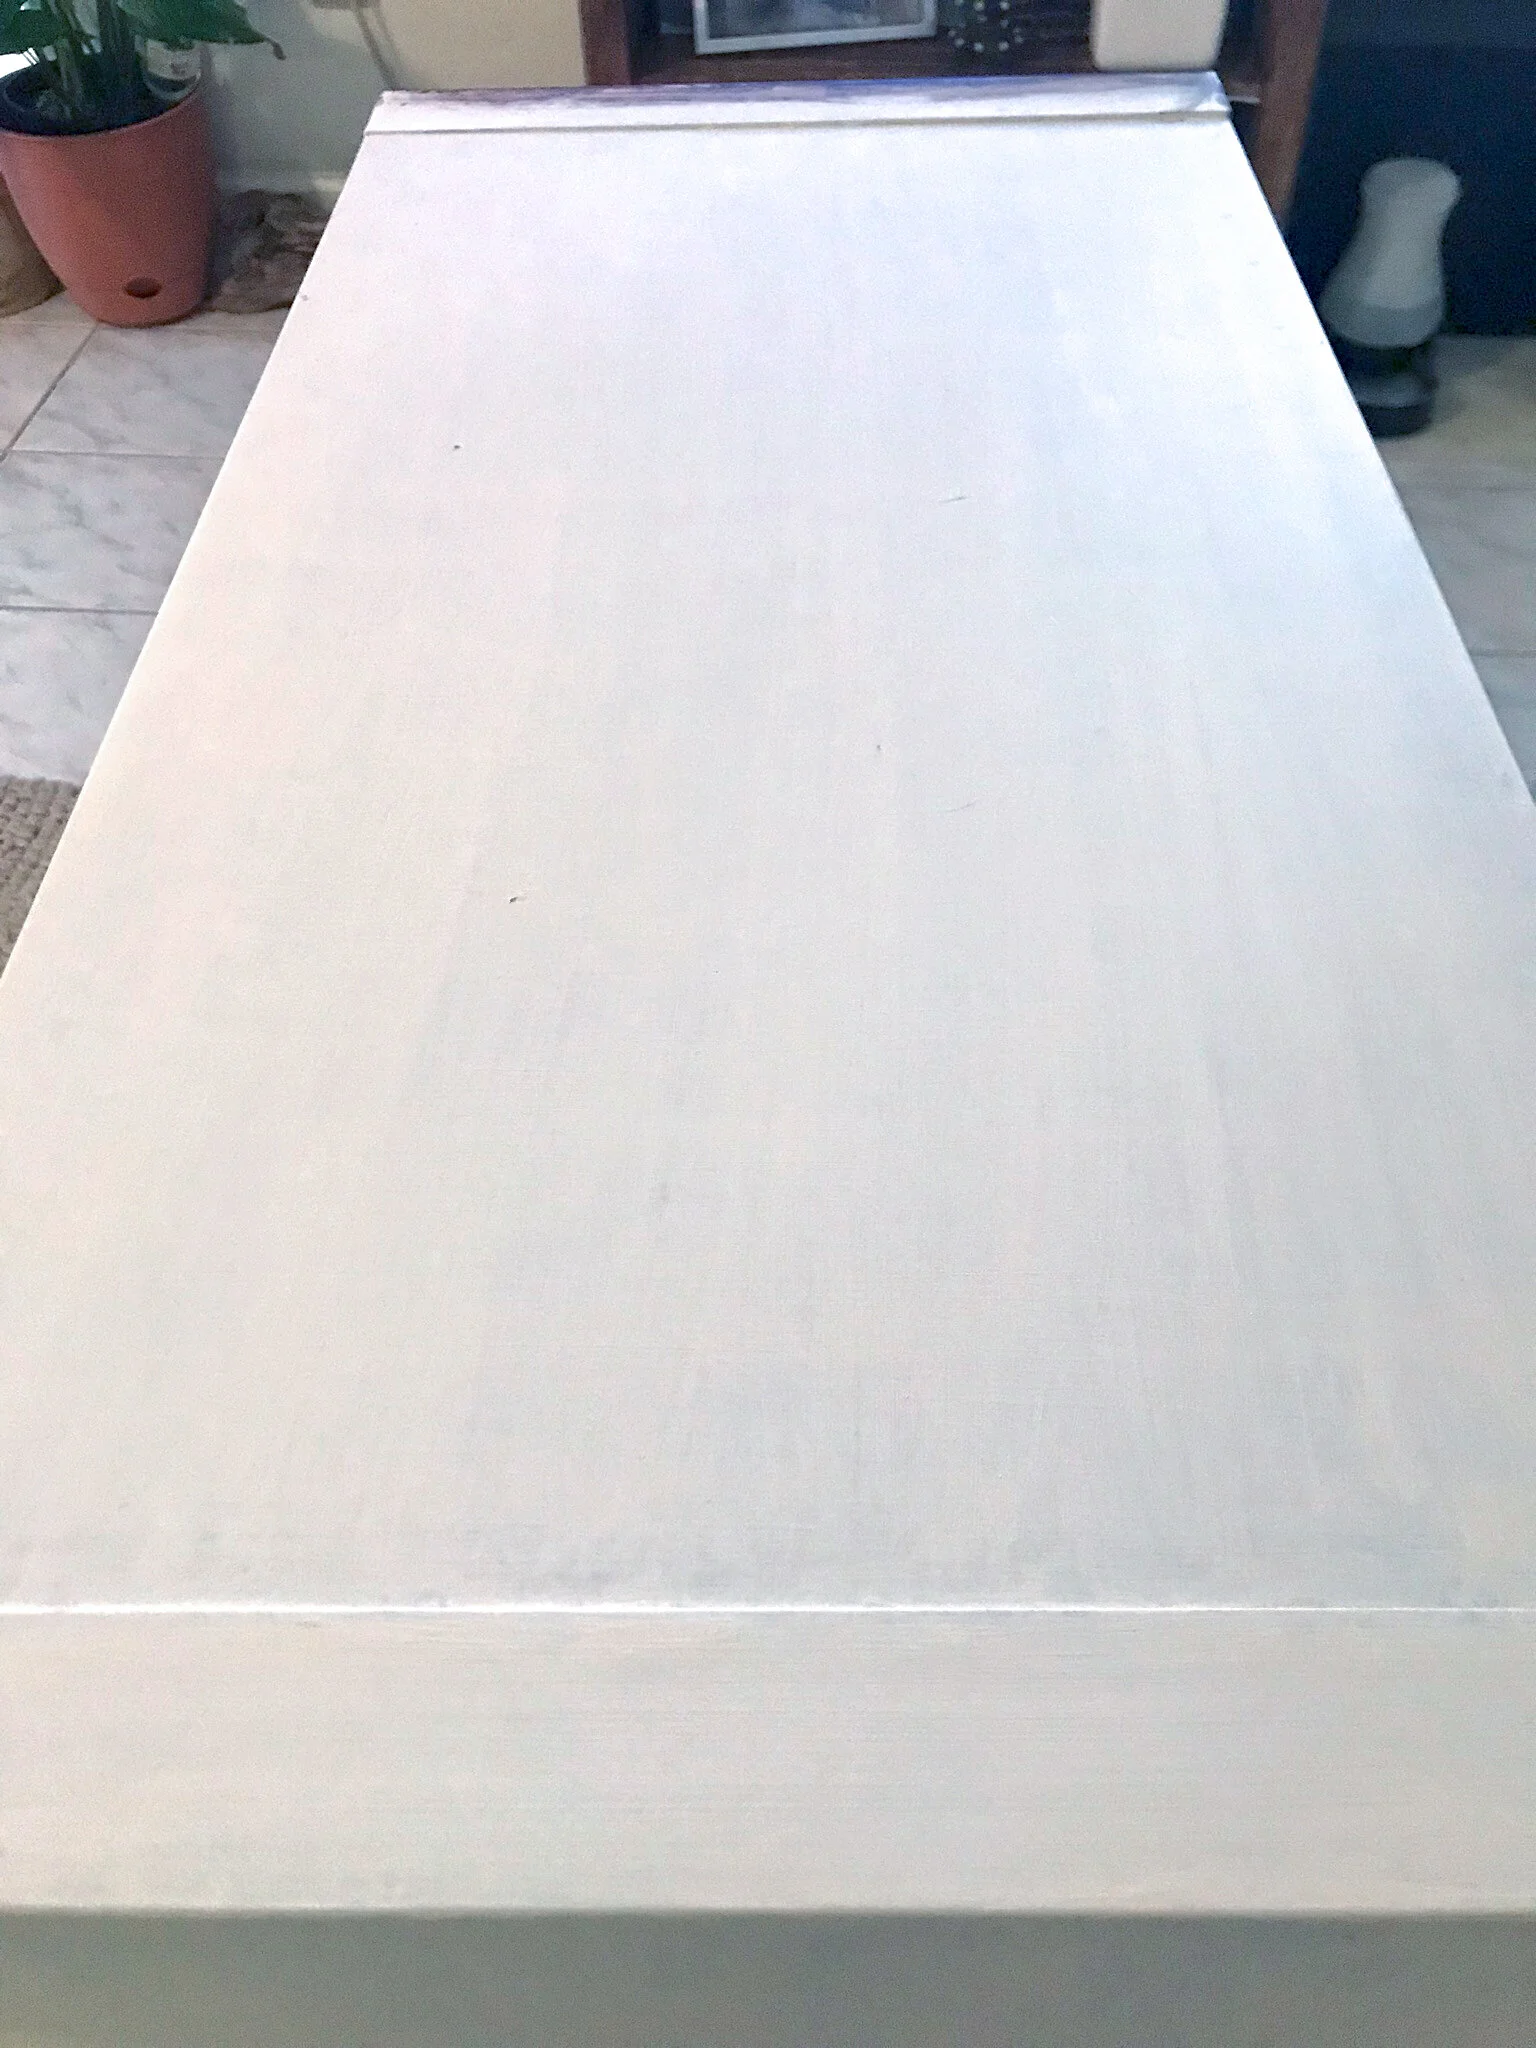
4.When you’re happy with your base color, let it dry thoroughly before moving on to the next step.
5. Use a brush to add a thick coat of wax (either antique wax, slate wax, or a clear wax that you have tinted). I recommend doing this step in smaller sections as you have limited time to work with the graining tool before the wax dries too much to easily manipulate. It doesn’t have to be perfect.
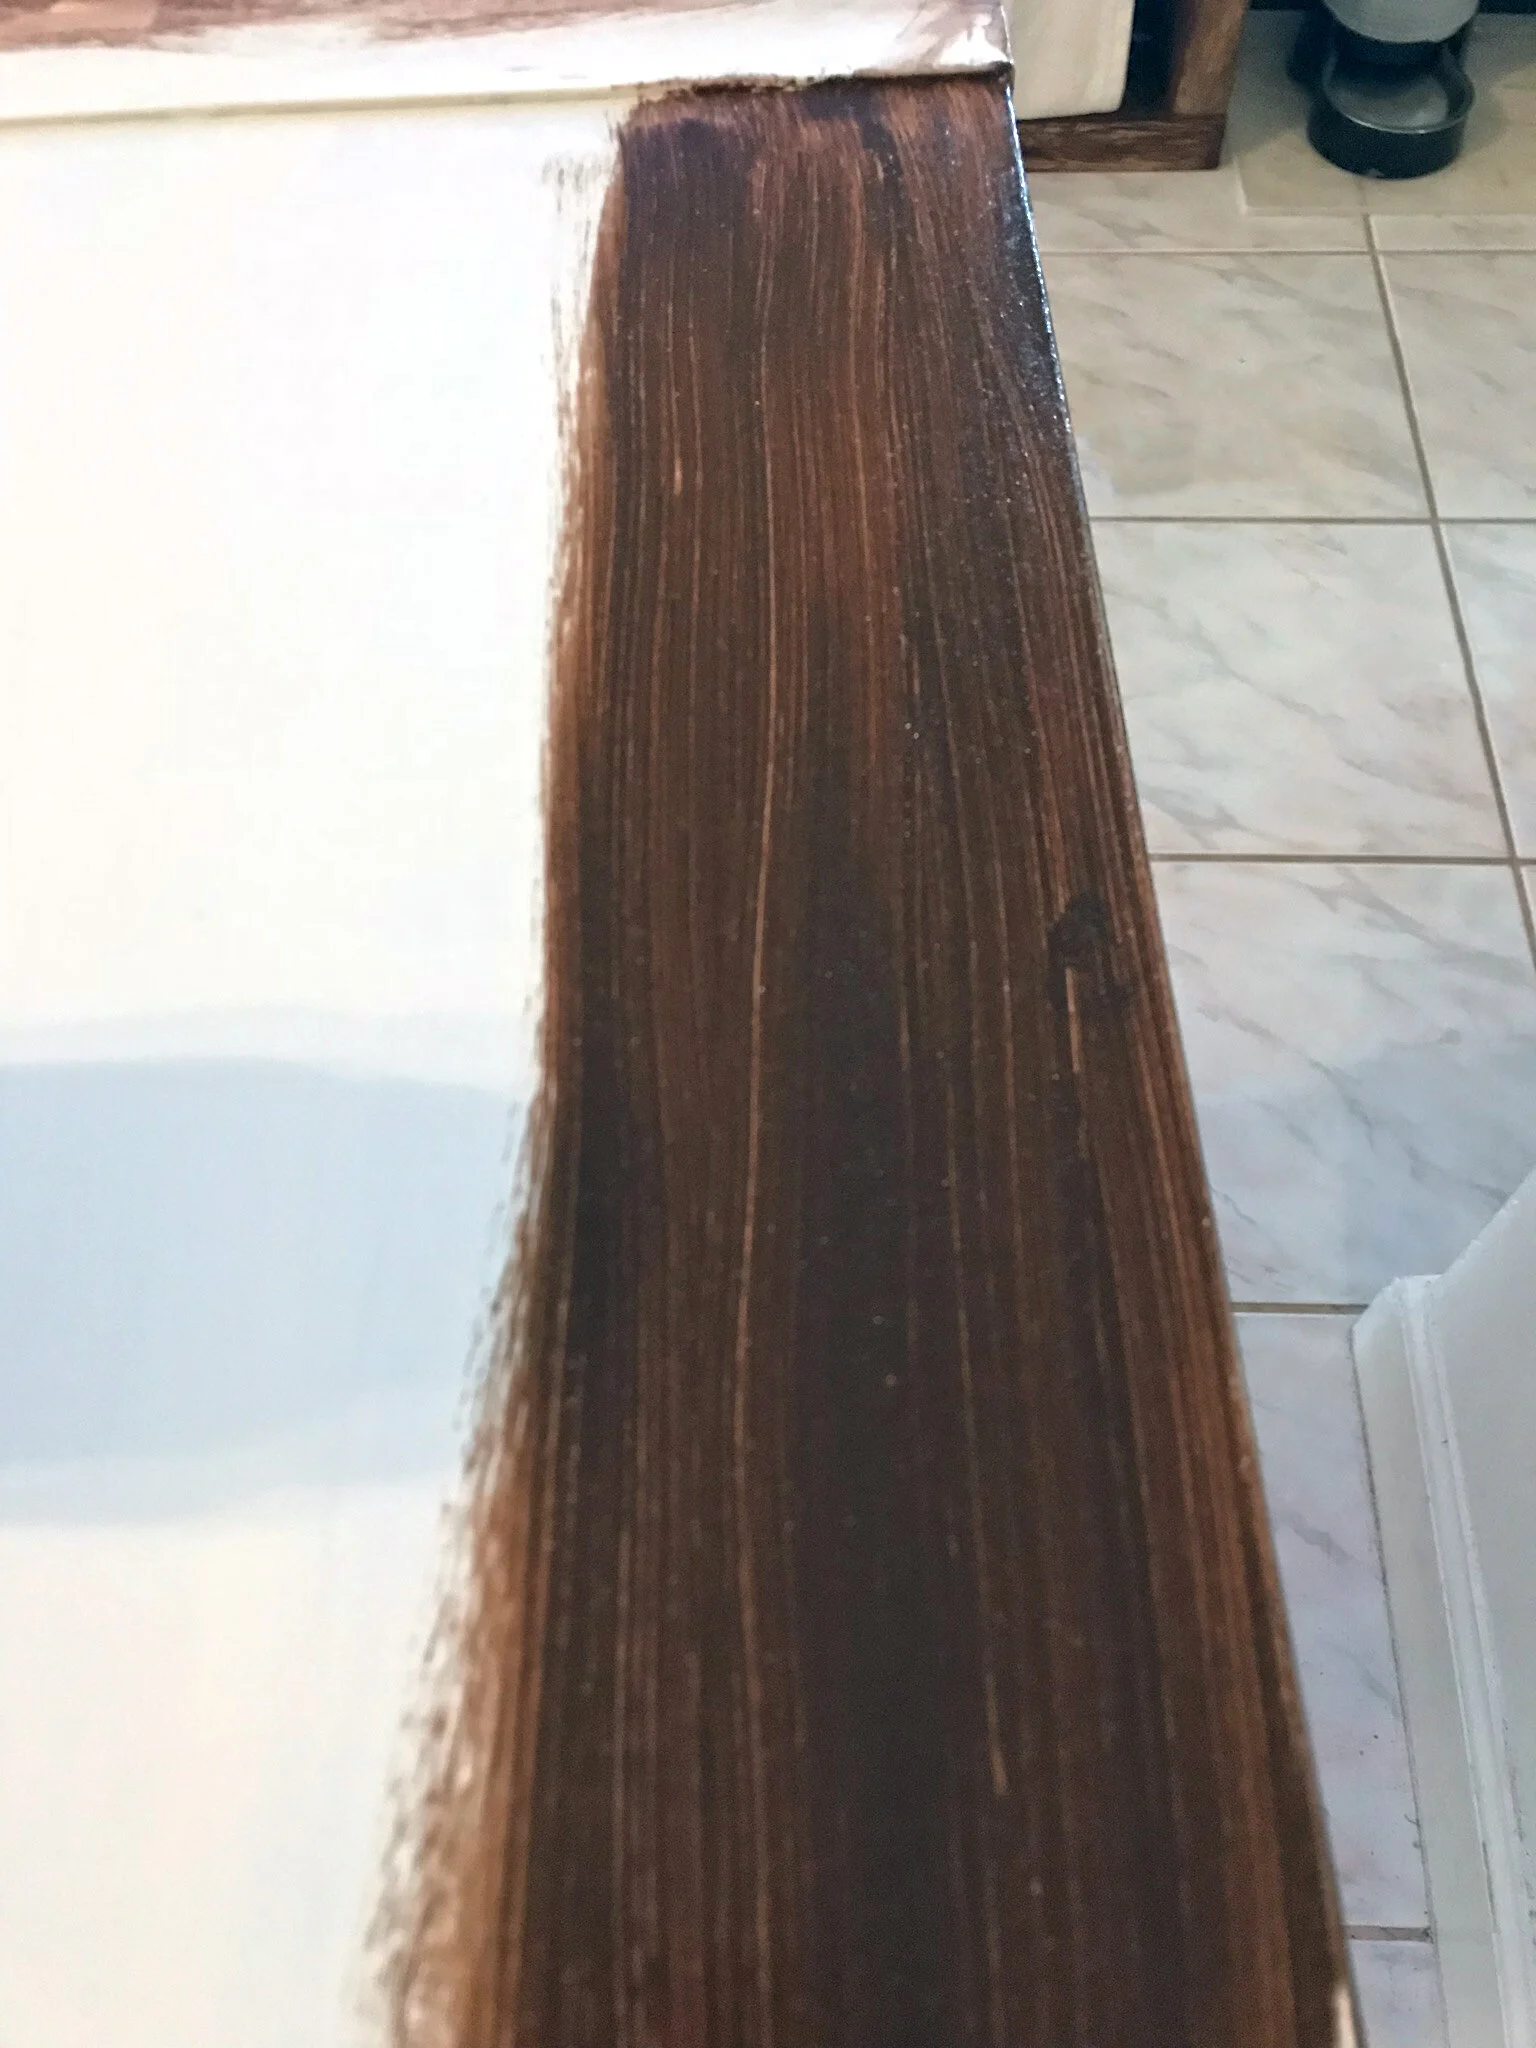
6.“Rock and drag” with a wood-graining tool through the wax to create a wood grain effect that you like. This will remove a lot of the wax that you put on to allow some of the base color to show through.
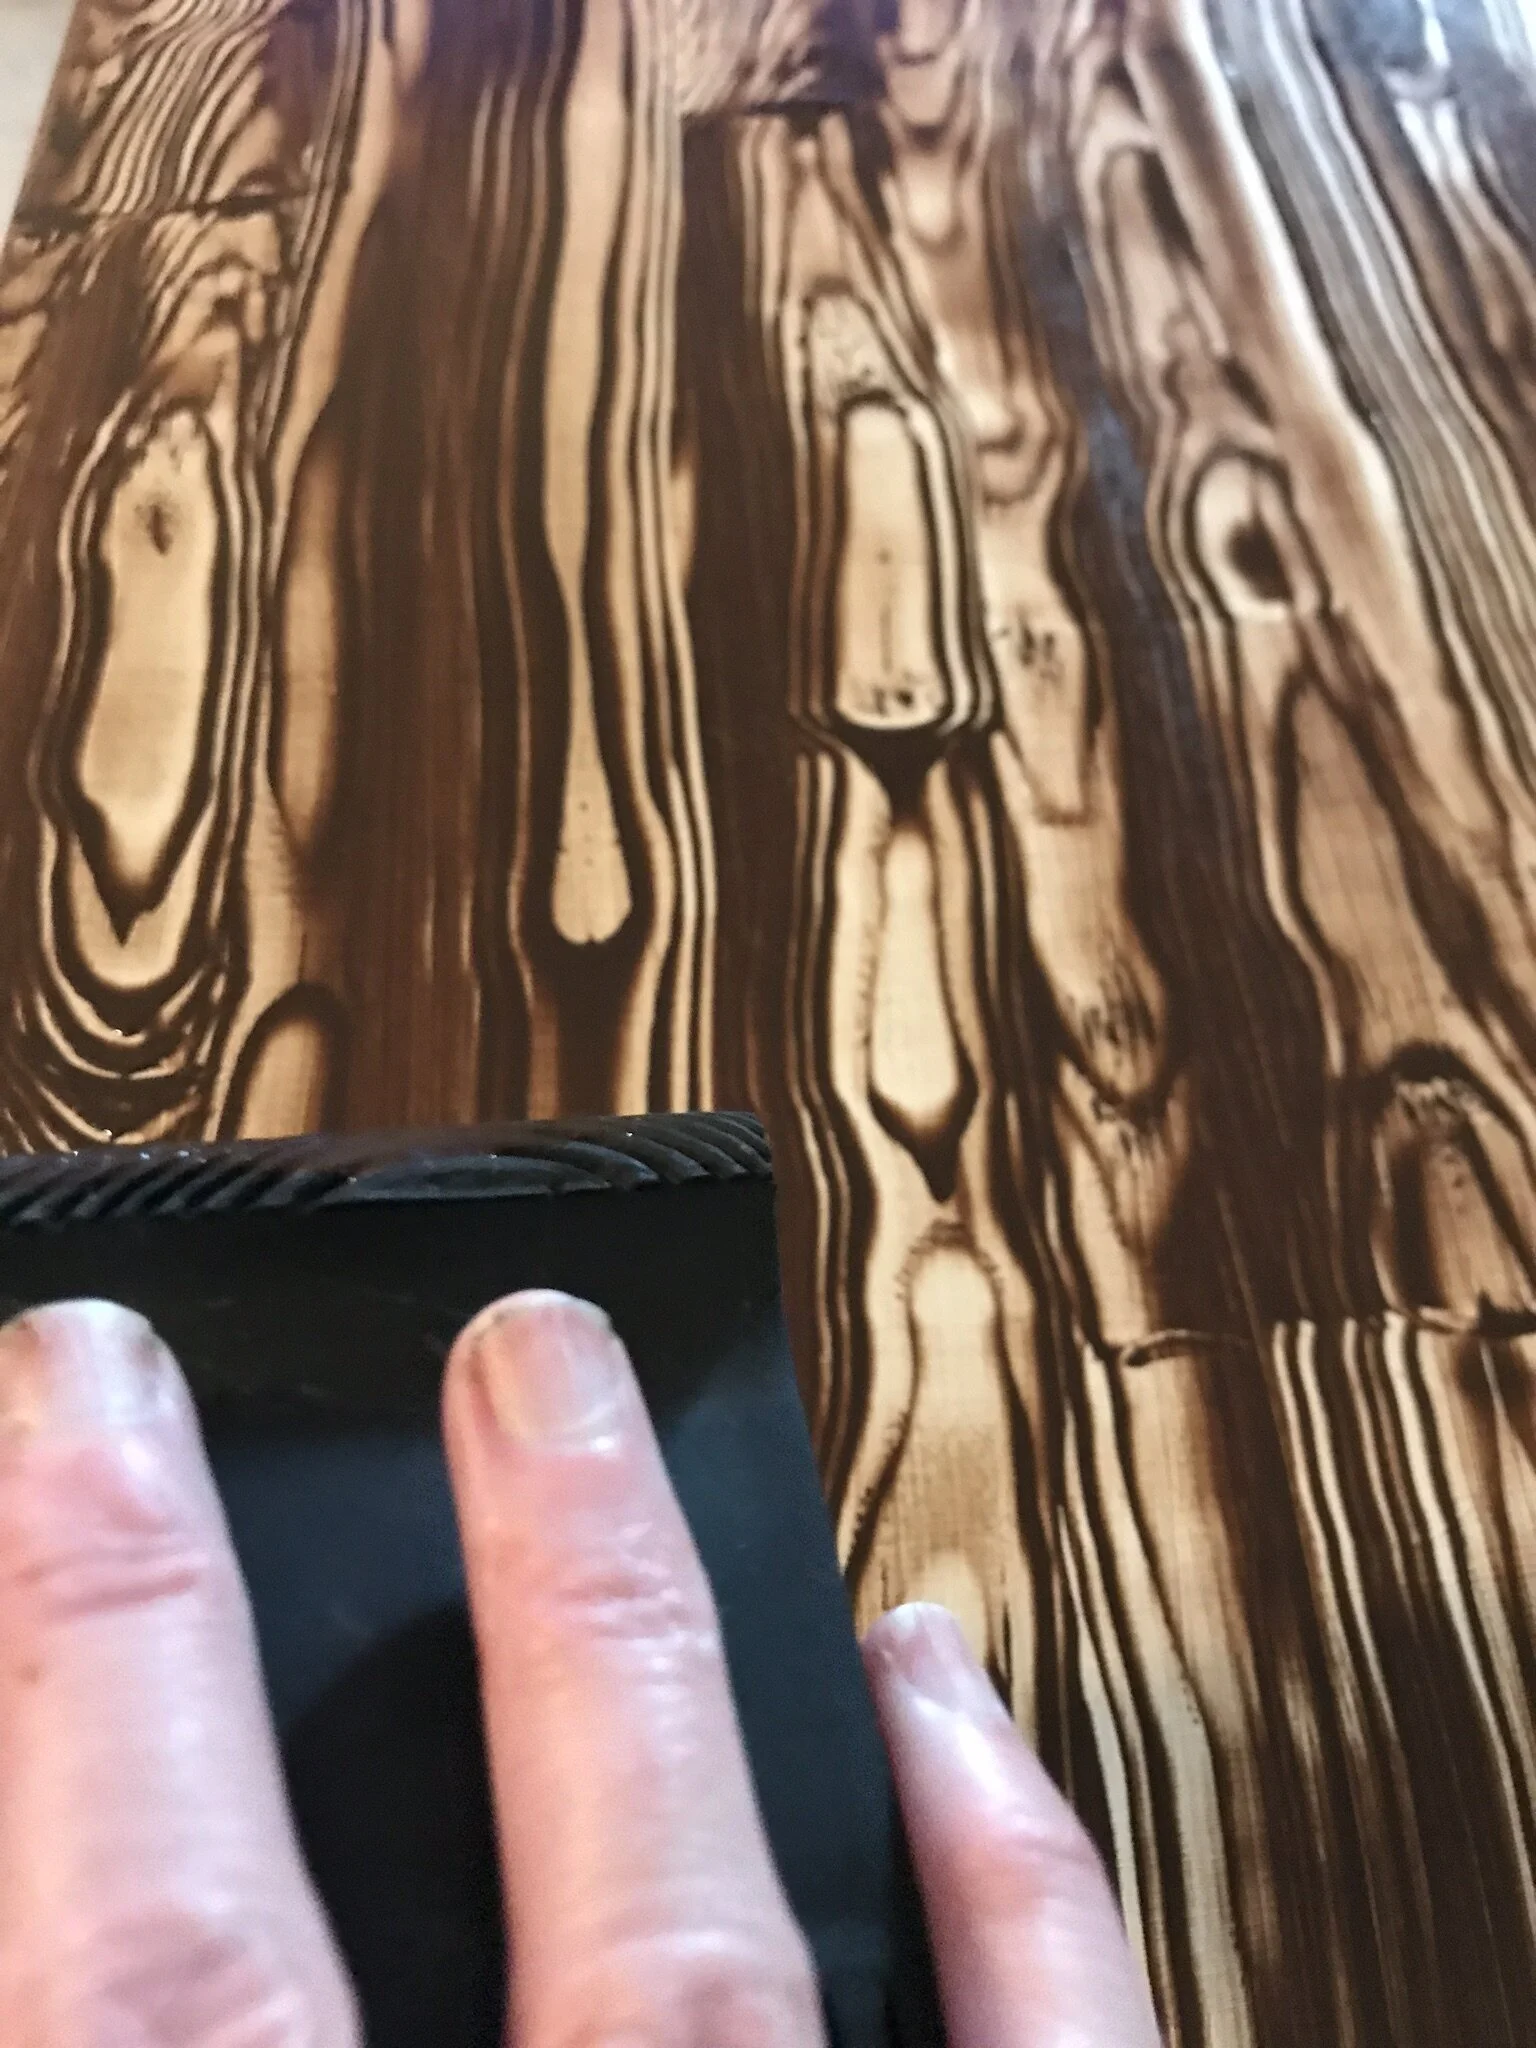
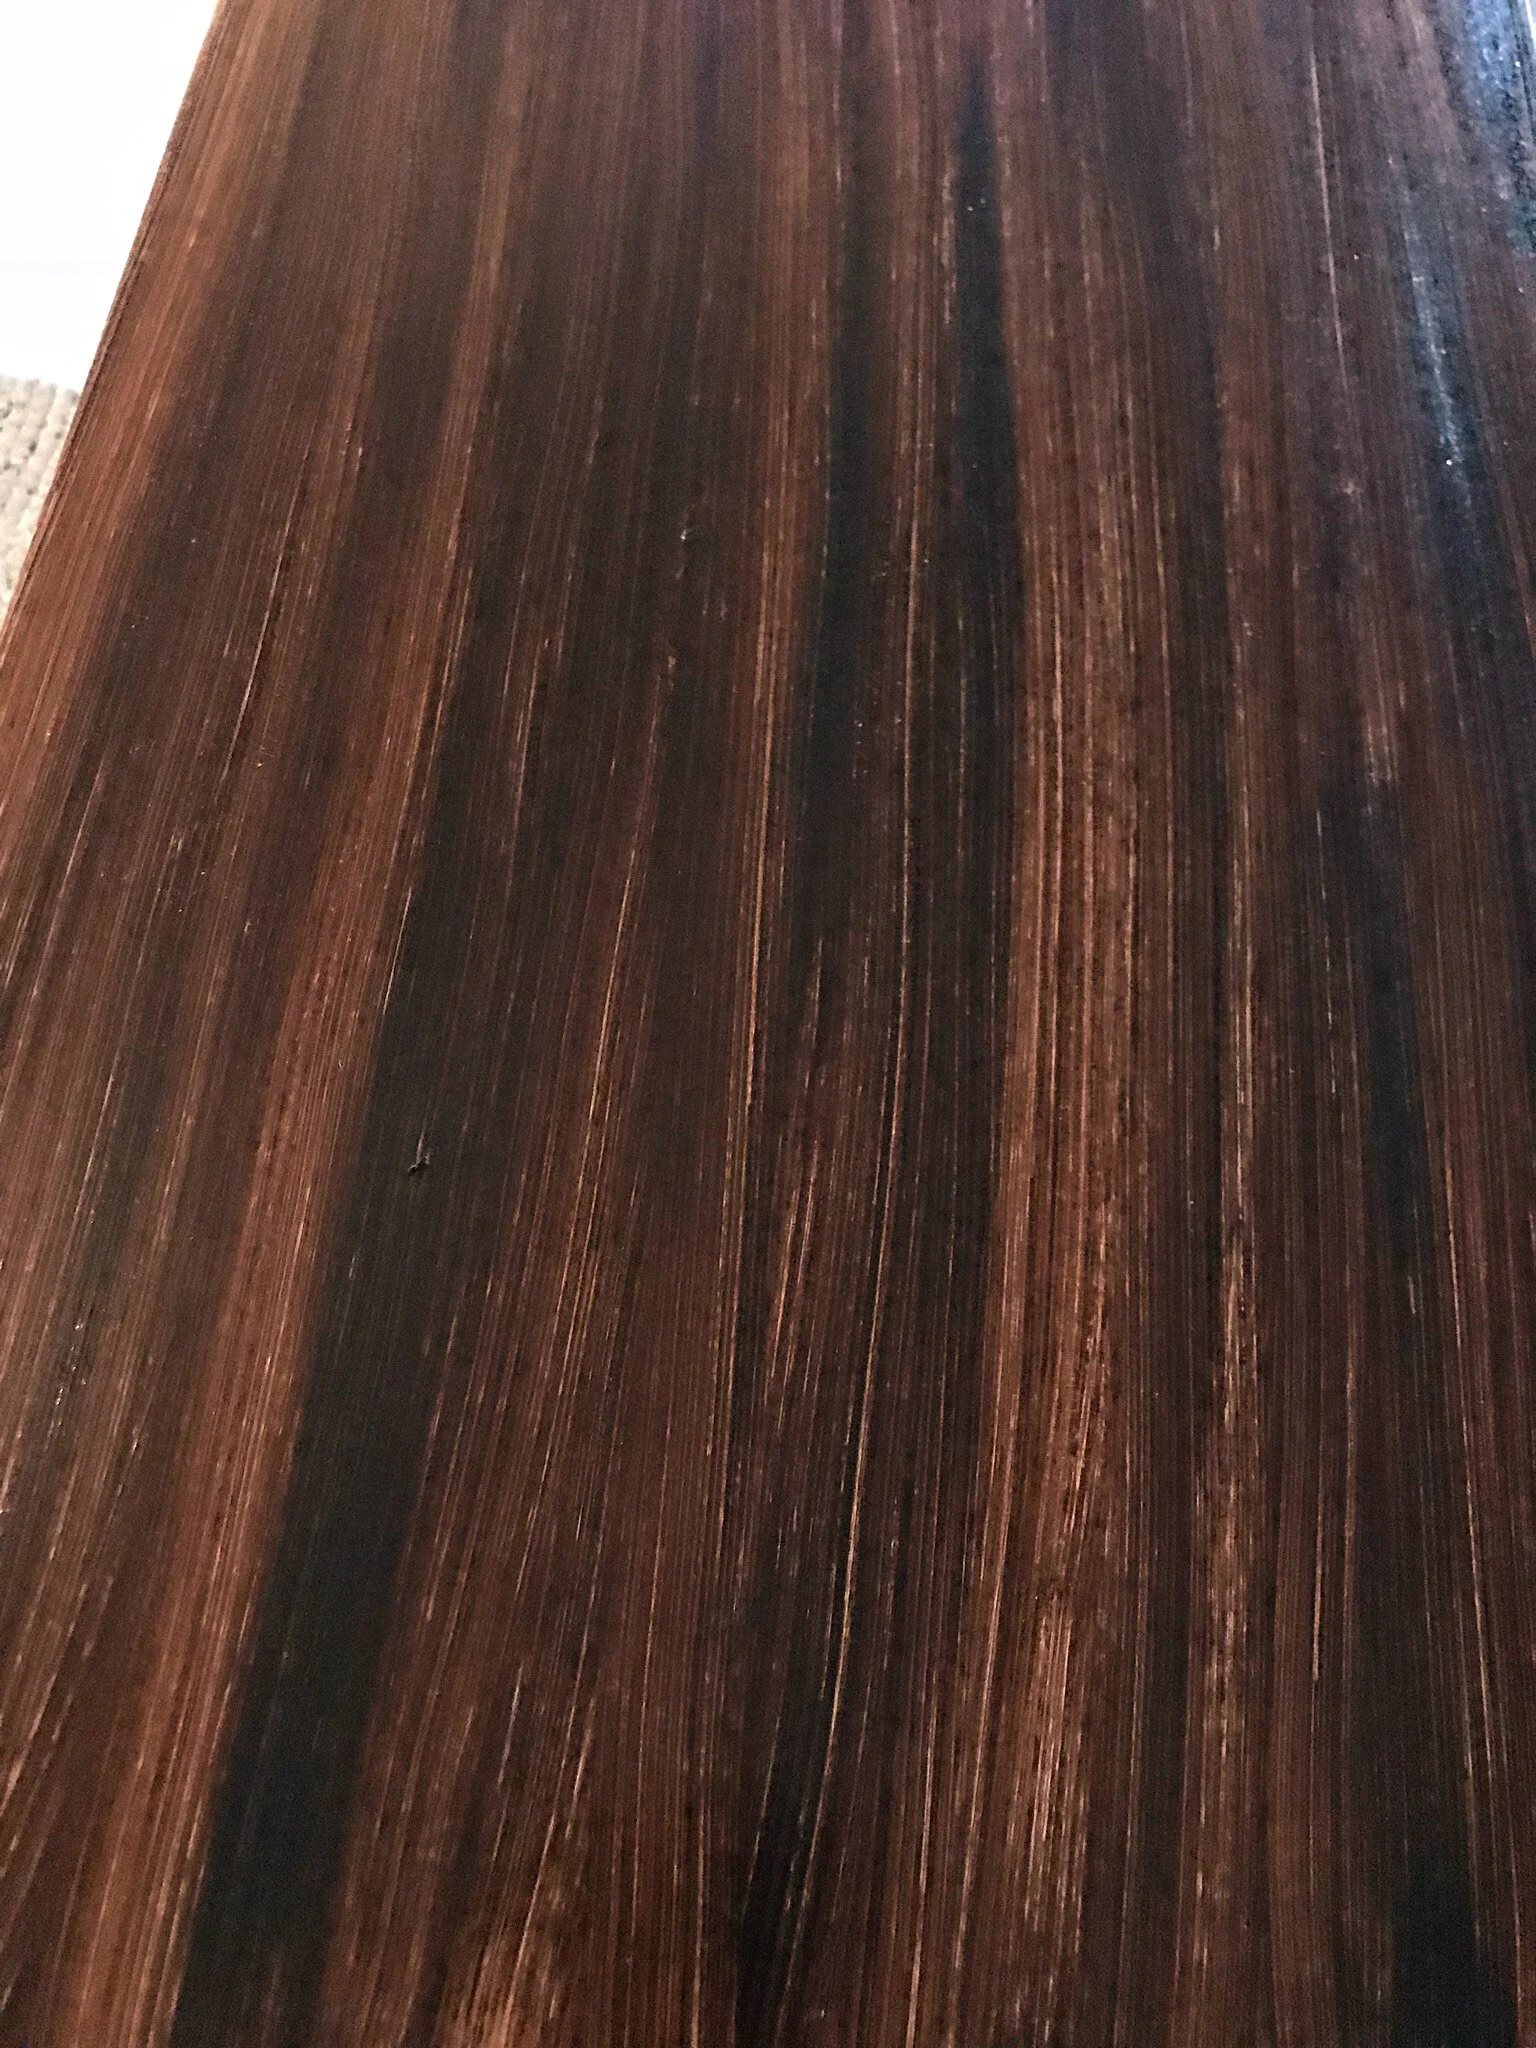
7. Wait a few minutes for the wax to set up. I found 5 minutes worked well.
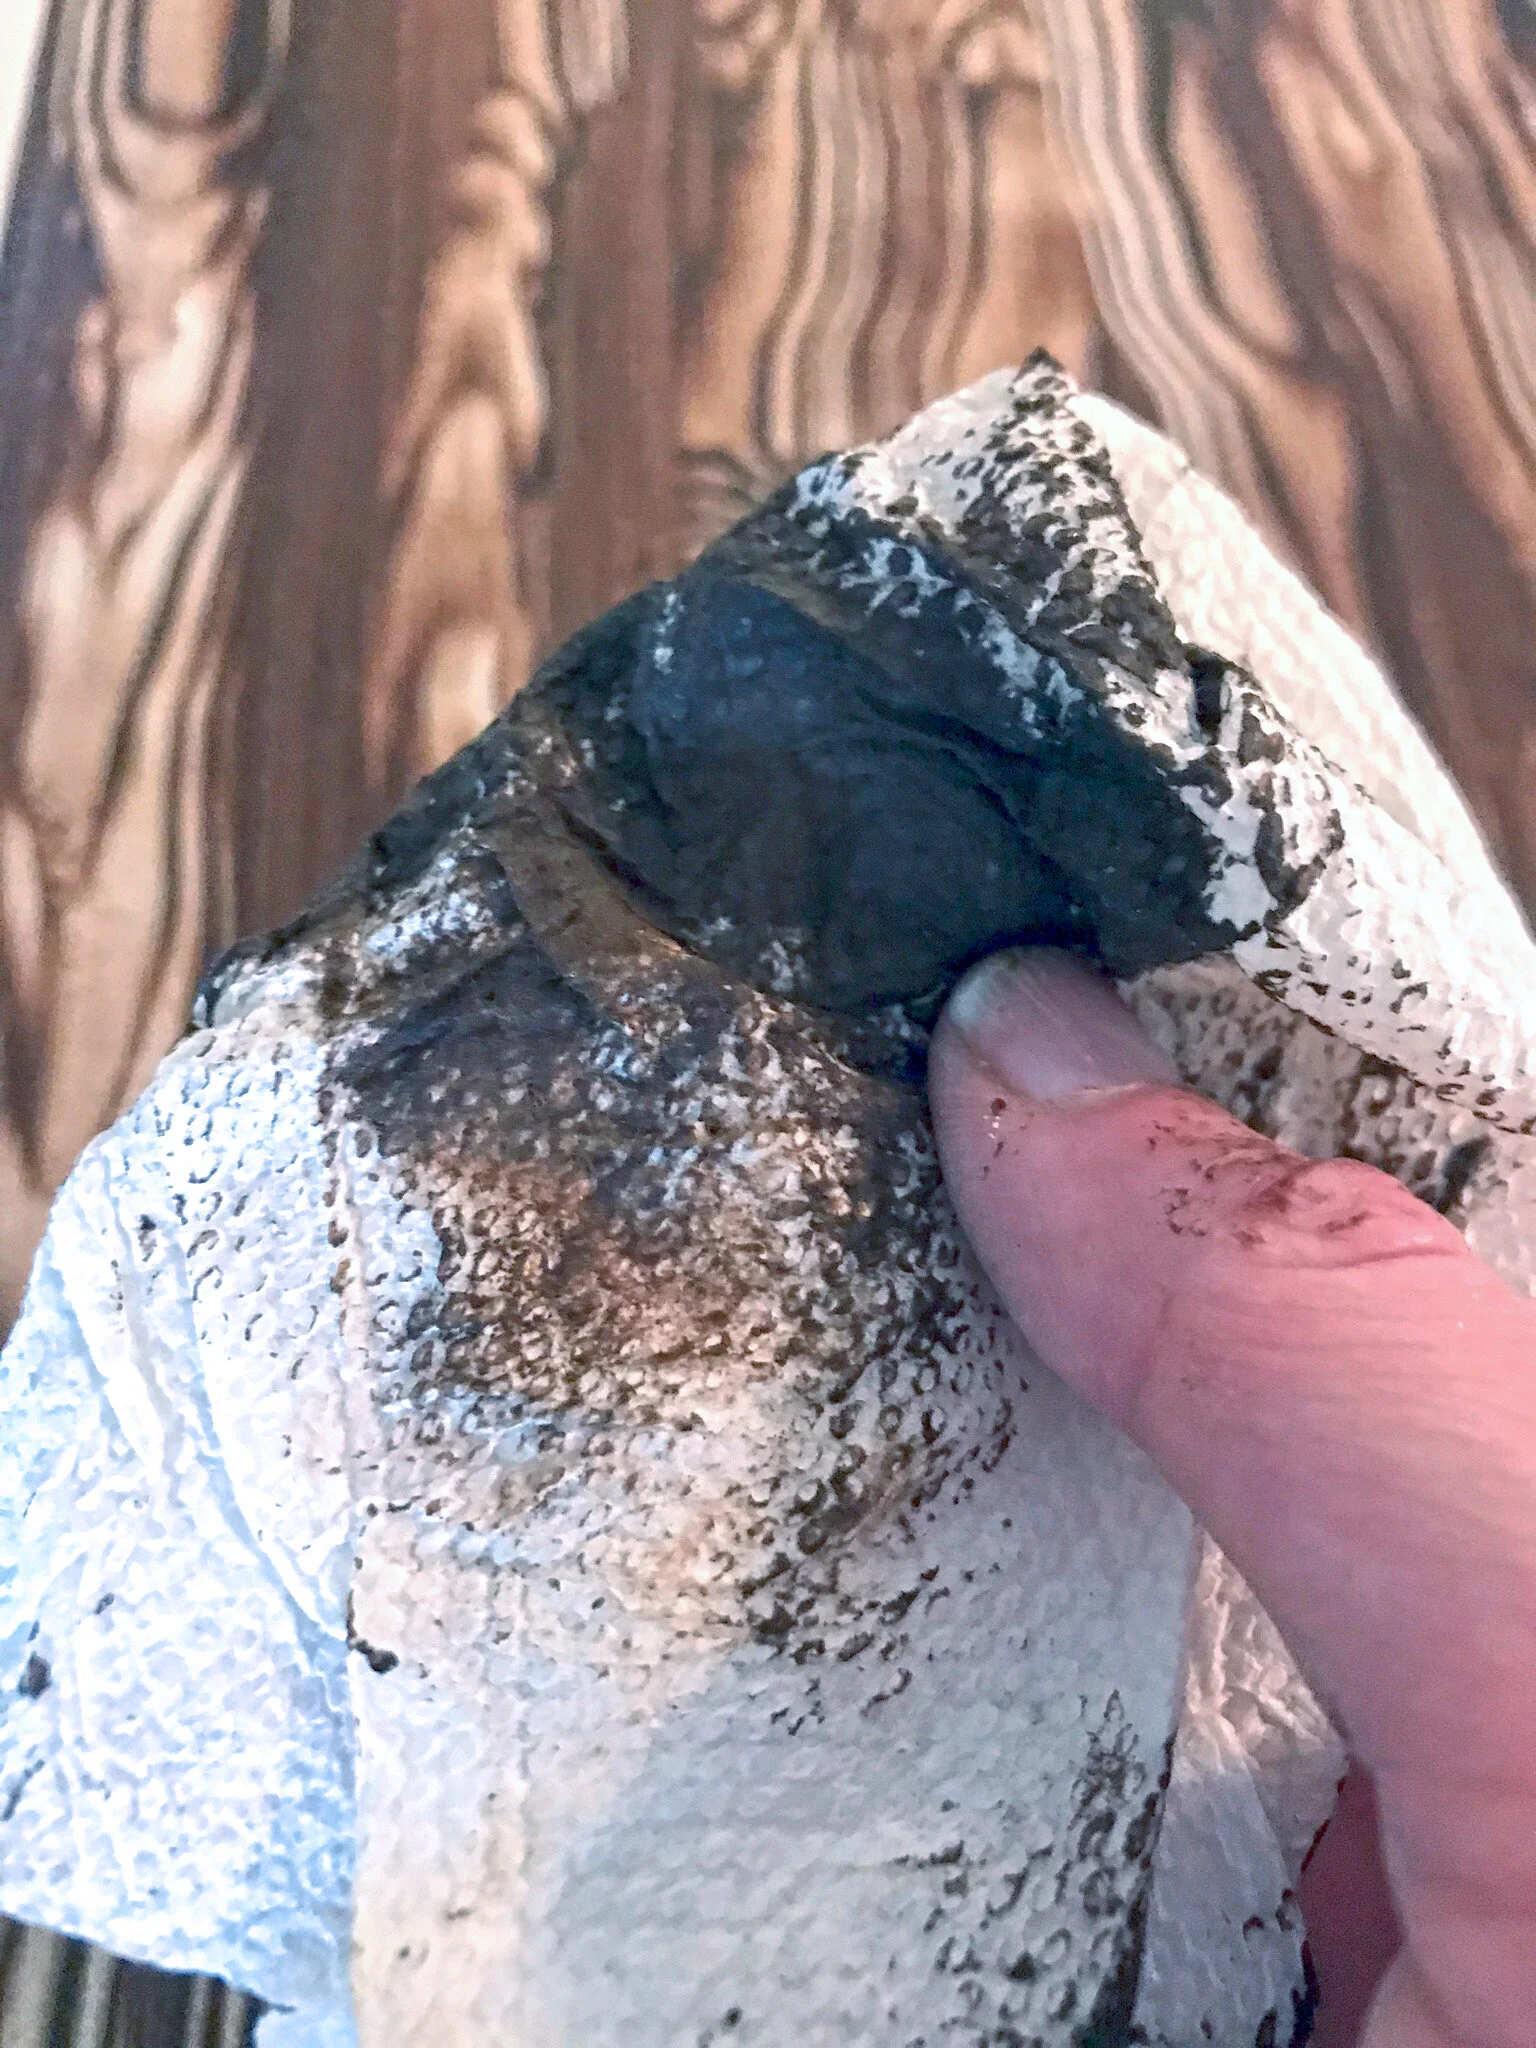
8. Use a combination of clean soft brushes, paper towels or clean soft rags to lightly soften the edges and blend the wax. You can create a lot of different effects depending on what you use to soften it and how much you blend the wax after graining.

9. When you’re happy with it, let it dry completely in a dust-free spot (away from cats is best - I had to redo two sections, and clean wax off floors and cat paws when my fur baby decided to investigate)